How to Create a Desktop Application – A Beginner-Friendly Guide
I’ve been working with Eclipse RCP (Rich Client Platform) to build modular and robust desktop applications. Eclipse RCP provides a modern framework for creating feature-rich desktop apps based on a proven plugin architecture. In this post, I’ll show you — step by step — how to build a basic Eclipse RCP application: from project setup to running your first app.
I’ll walk you through the core technologies, and share practical insights from my own experience—so you can start building desktop software applications with confidence.
What is RCP?
An RCP application is a modular desktop application built on top of a framework like Eclipse RCP. It gives you:
- A consistent UI framework
- Built-in support for modularity and plugins
- Common services (menus, actions, update mechanisms)
Prerequisites
Before starting, you’ll need:
- Java 21 or greater installed.
- Eclipse IDE for RCP and RAP Developers 2025-06 or older (download from: Eclipse Downloads).
- Basic knowledge of Java and Maven.
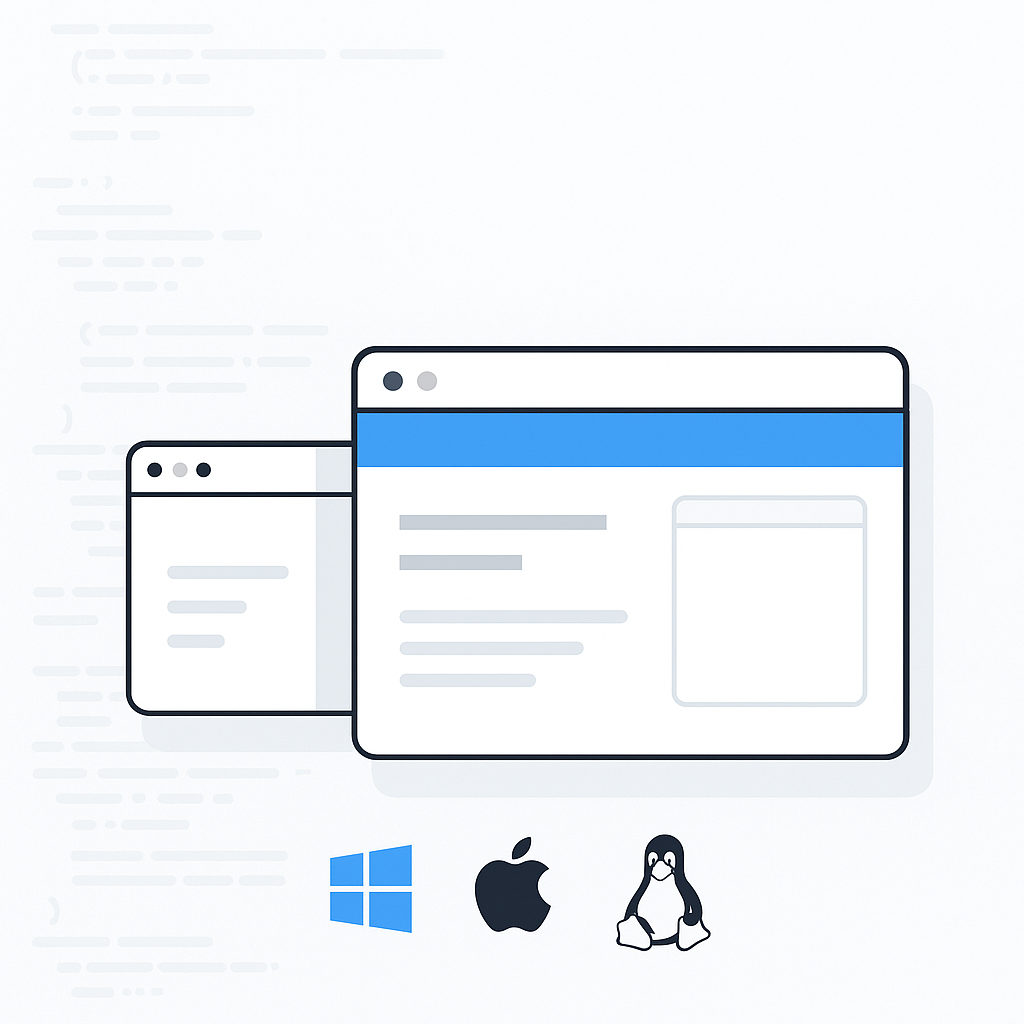
You can start developing on Windows, macOS, or Linux, as Eclipse RCP is a cross-platform technology.
Step 1: Explaining the Project
You can find the full base application on my github page: https://nodes-ro.github.io/nodes-rcp-desktop/
Our project will contain a parent module and four other sub modules.
- parent-pom
- nodes_feature
- nodes_plugin
- nodes_repository
- nodes_target
In this Eclipse RCP project, we use Maven + Tycho to manage the build, versions and packaging the application. This approach gives us a fully automated, reproducible build for the RCP app.
parent-pom
This contains the parent project pom.
pom.xml– Its job is to collect common configuration and to orchestrate the build of the four other sub-modules. It configures Tyco version4.0.13, Java21. Look inside this file for additional comments about its content.
nodes_feature
This module defines an Eclipse Feature. Groups together one or more plugins (usually your main plugin plus optional dependencies).We use this because Eclipse RCP products are built from features, not plugins directly.
pom.xml– packaging is set to eclipse-feature, indicating that this module builds an Eclipse feature rather than a standard JAR or plug-in.features.xml– Contains thenodes_plugin, which delivers the core application functionality. –
nodes_plugin
This is the main plugin. Contains your RCP application code like: Menus & Commands, Services. You will spend 80% of your coding time here.
It also contains Application.e4xmi which is used to define the structure of your app at runtime (Perspectives, Views, Parts, Menus, Toolbars, Handlers ... ).
pom.xml– Declares the module as aneclipse-plugin. That tells Tycho to treat it as an OSGi bundleMETA-INF/MANIFEST.MF– The bundle’s identity card.Export-Packageexposes thehandlersandpartspackages so other bundles can call into them.Require-Bundle/Import-Packagelist the dependecies this plug-in must have at compile time and at runtime, ensuring the framework resolves only against compatible versions.
model/Application.e4xmi– A declarative, EMF-typed blueprint of the UI. This file tells the Eclipse platform what UI to create and how it is wired together.build.properties– It tells the build system where the Java source folders are and which non-code resources (manifest, XML, icons, splash screen, etc.) have to be packed into the final JAR.
-
plugin.xml– Registers the RCP product named “Nodes.” It points tomodel/Application.e4xmi.
-
icons/, splash.bmp– Folders containing project resources
nodes_repository
This is where your RCP application gets packaged into a real, installable product, either as a standalone product or as an update site.
It also contains thenodes.product file — which describes your actual RCP product.(Determines what will be included in the final installable app, configures branding like splash screens, Specifies JVM arguments)
pom.xml– Has the configuration to package everything produced by earlier modules into a p2 update site and platform-specific, self-contained “Nodes” applications for Windows, Linux and macOS.
nodes.product– This .product file is the shipping manifest for the Eclipse RCP app “Nodes”; it defines native launchers and splash branding, sets a few VM/program args, and specifies which features will be installed into the final p2 repo / product.
nodes_target
This module defines the Target Platform. Describes what version of Eclipse Platform your app runs on and dependencies on Eclipse bundles & external libraries.
pom.xml– Packaging is set to eclipse-target-definition
nodes.target– This file describes the exact Eclipse & third-party plugins/bundles your workspace and Tycho build must compile against.
Step 2: Set up the Project
Open Eclipse IDE.
Go to Import Projects → Git → Projects from Git(with smart import)→ GitHub→ Search (nodes-rcp-desktop)
Select botacatalin/nodes-rcp-desktop (Java) repository.
Click Next → Branch selection main ( leave as it is )
Click Next → Local destination ( leave as it is )
Click Next → Import Projects ( leave as it is ) →Finish
When Discover m2e connectors window pops up click Resolve All Later → Finish
Build the Project
- In Eclipse Project Explorer, right-click on
parent-pom/pom.xml - Select:
Run As→Maven Build…- In the dialog that opens:
- In the Goals field, type:
clean install
- In the Goals field, type:
- In the dialog that opens:
- Click Run
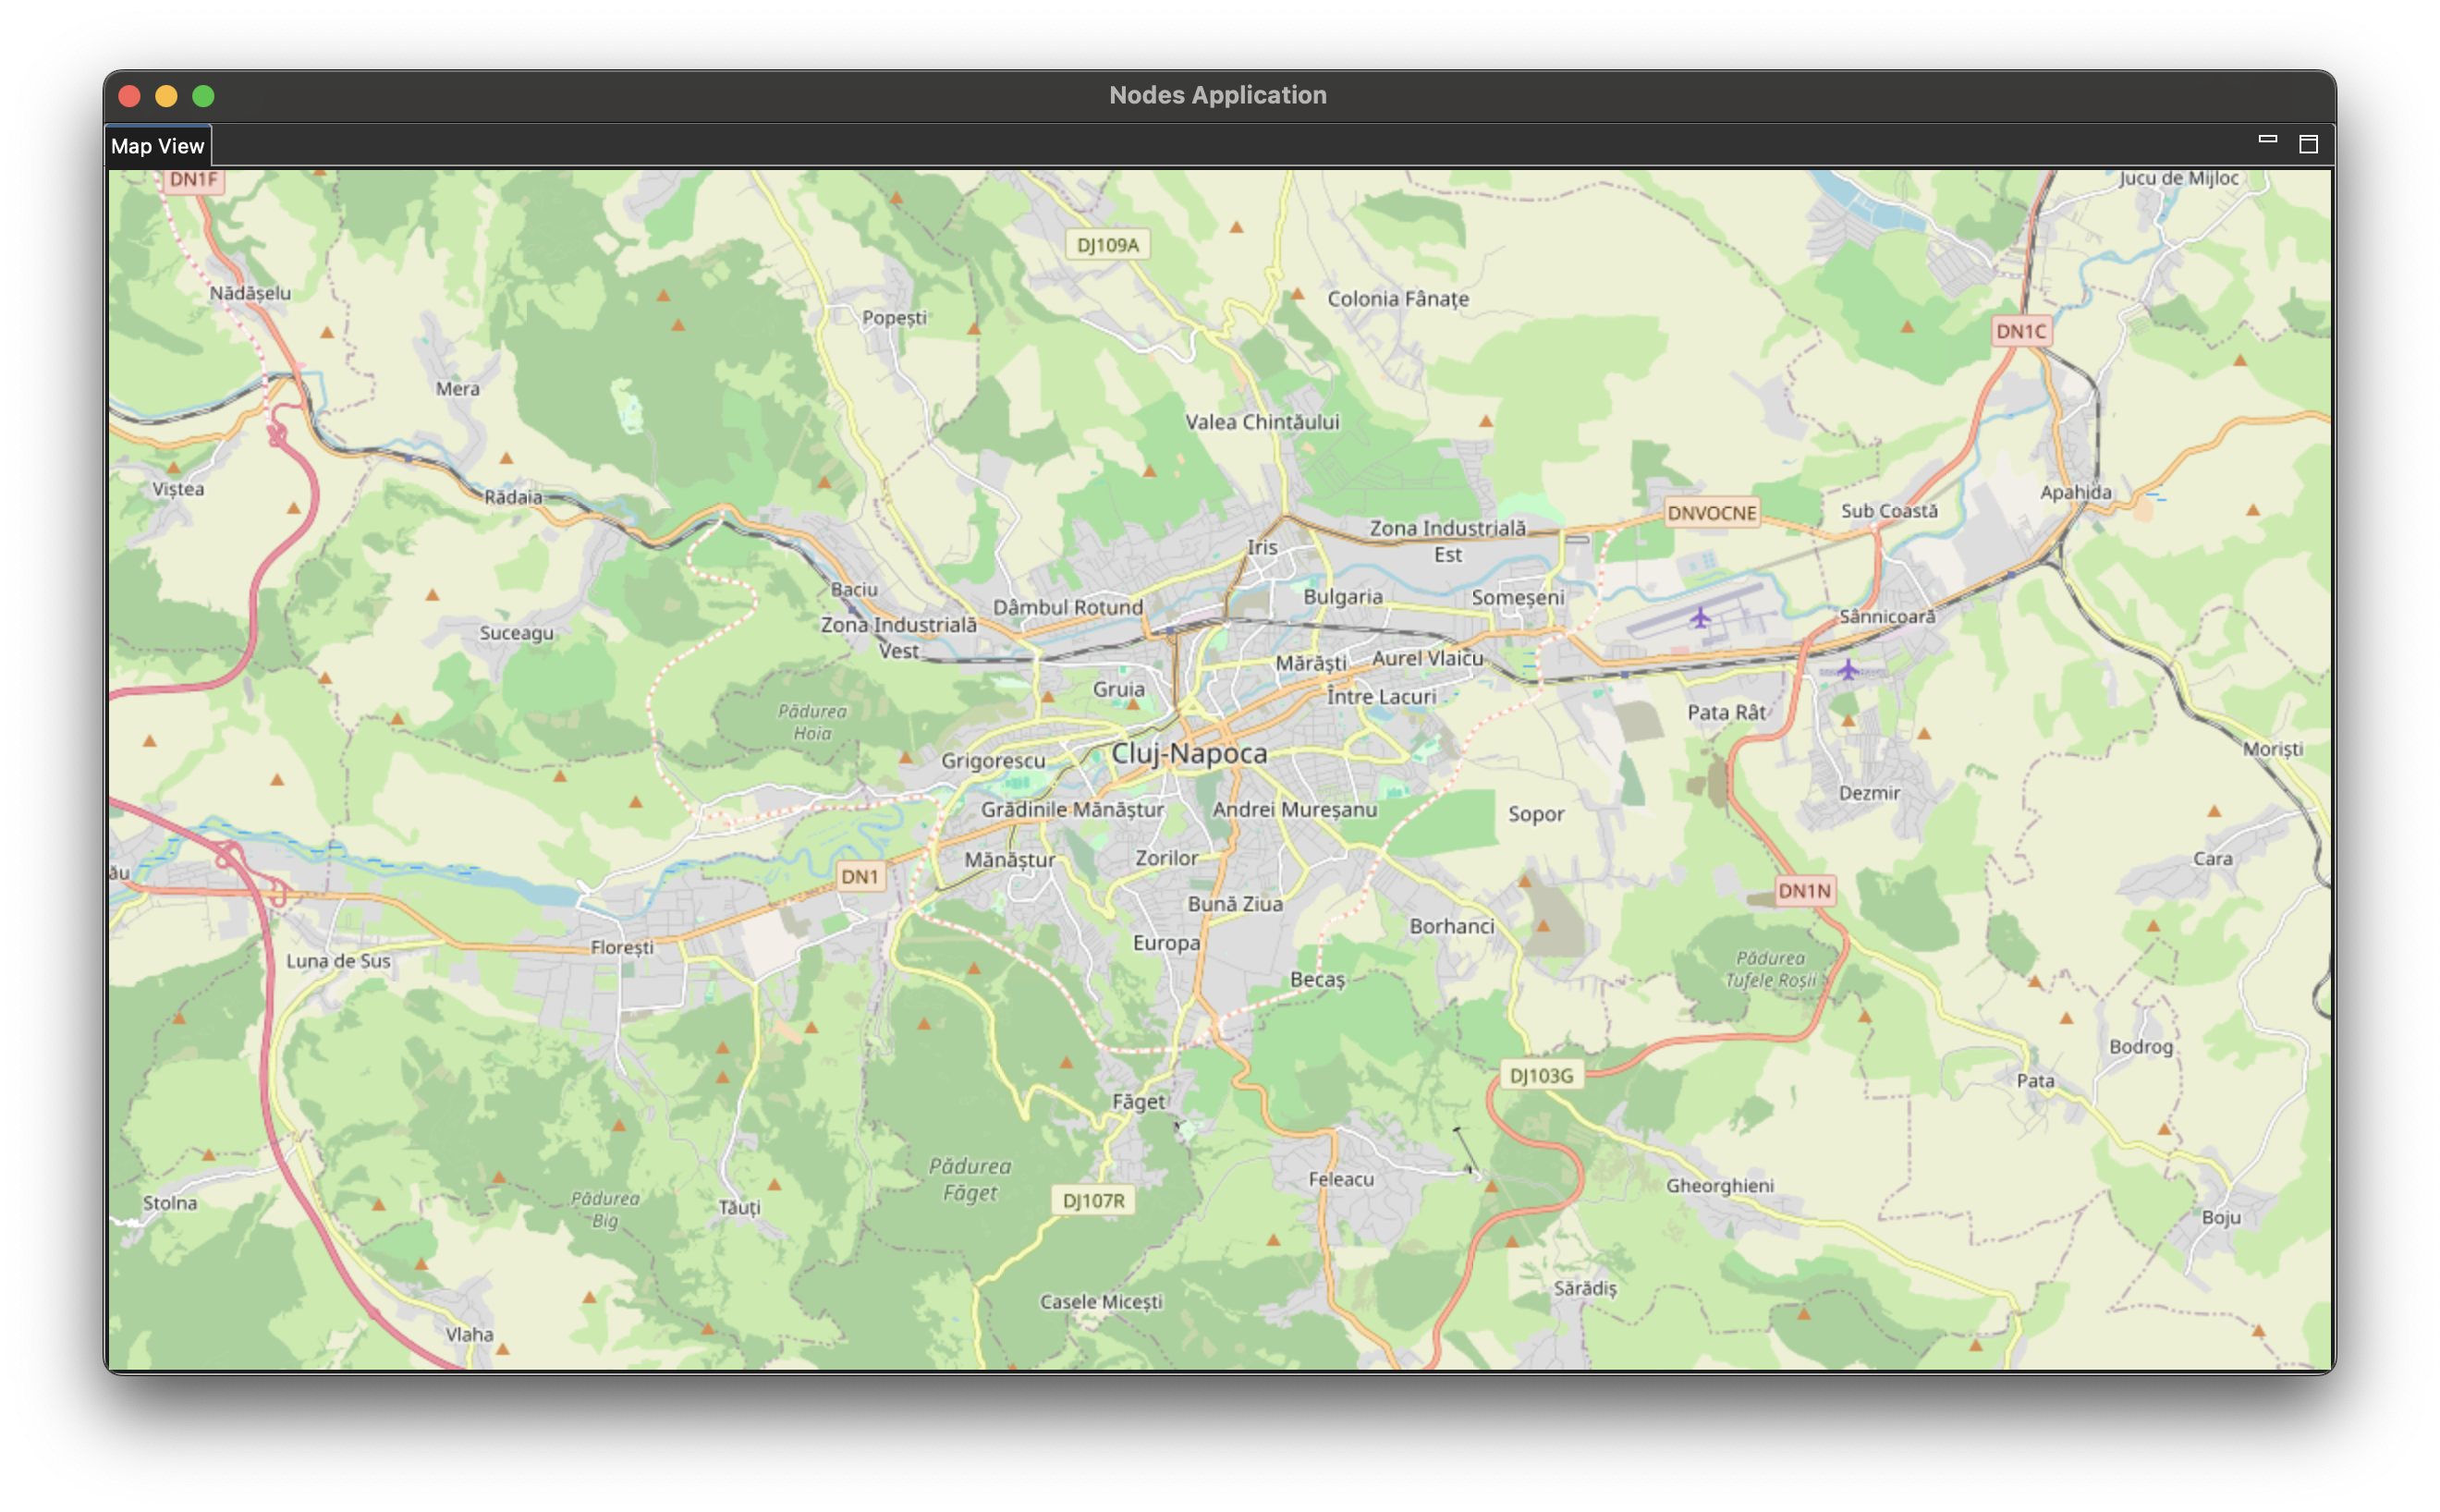
After you get BUILD SUCCESS go to nodes_repository/target/products/nodes.product/ ... and select the executable for your platform. This generates a standalone application that you can run directly on your computer.
Why would you use this approach ?
To develop:
- Internal Tools - Domain-Specific Applications.
- Proof-of-Concepts & Rapid Prototypes.